ePortfolio Checklist:
1. Purpose: Promotion of the National History Day school club to recruit new student members.
2. All 9 Images:
Original Graphic #1
|
|
|
|

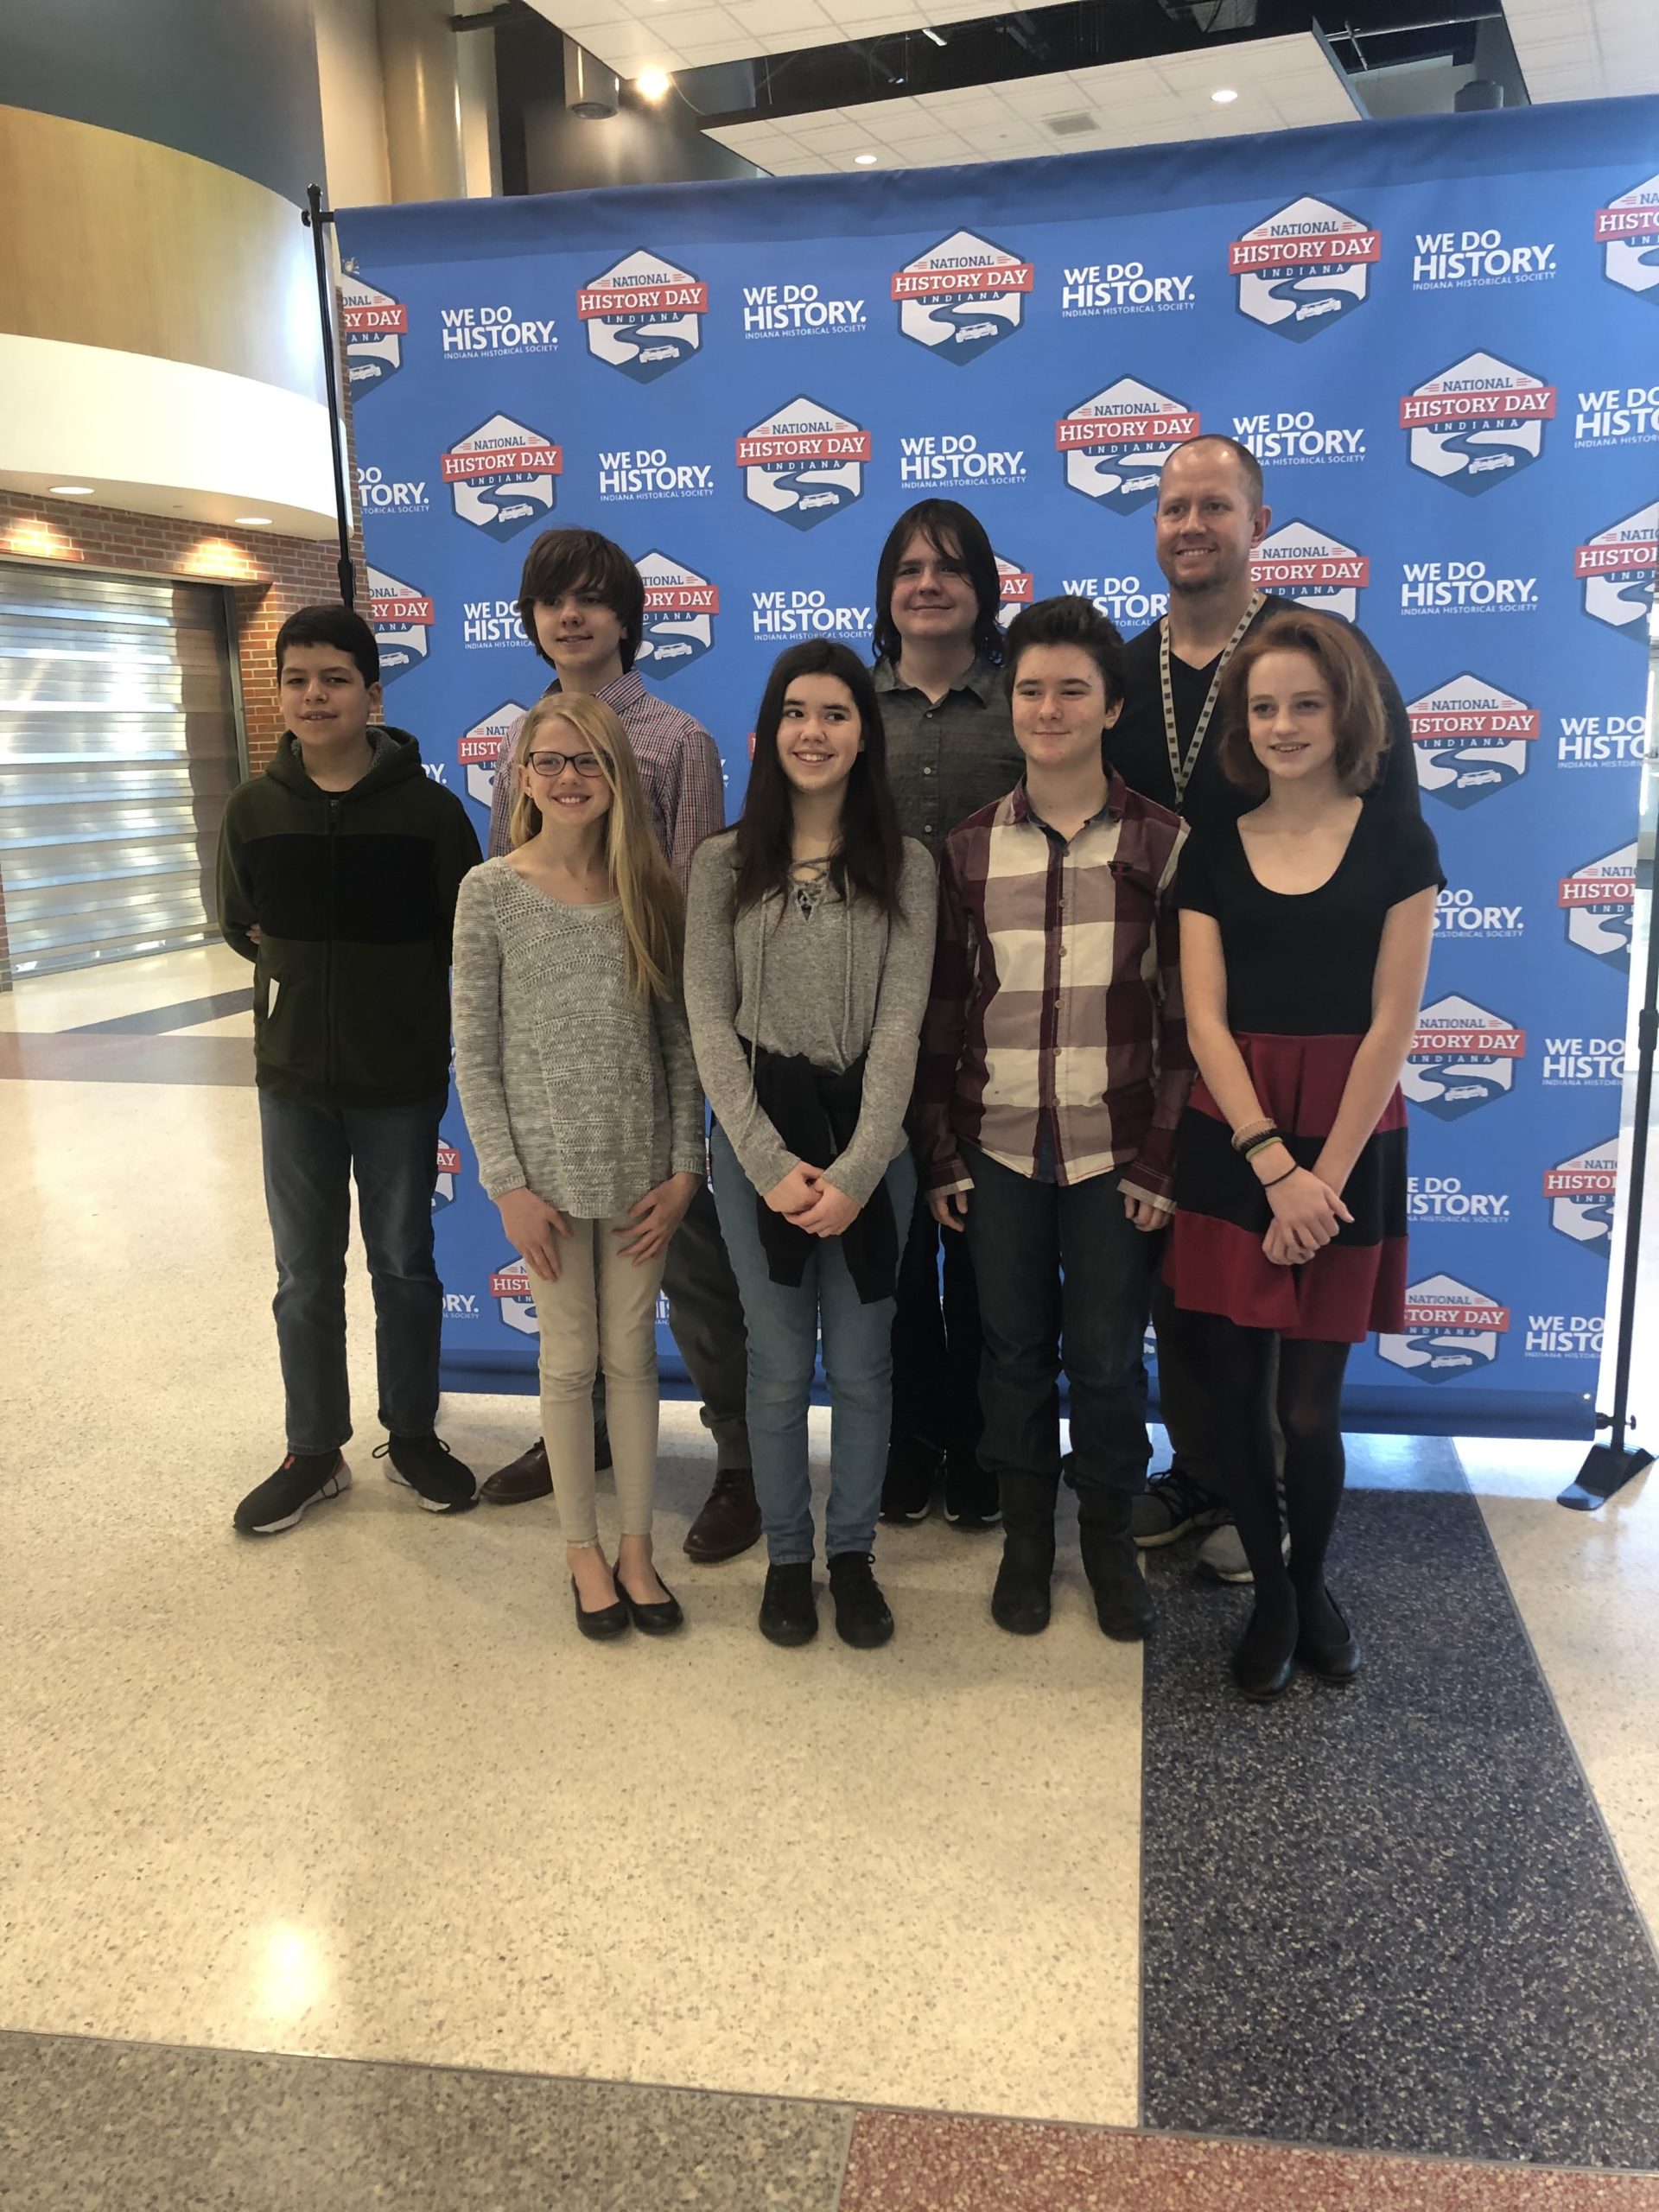
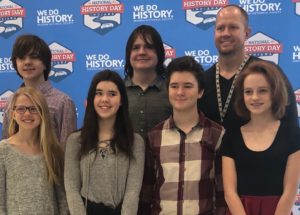
- 5. Original Graphic #2 – Scan of Photograph
|
|
(Thumbnail 150 x 150)
|
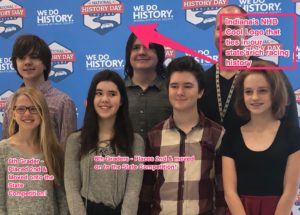
- 9. New Image that goes with the Purpose: Promoting my school club to recruit new students for National History Day Club by promoting the theme of communication as an old-school record.
![]()
Citation: http://www.cvschools.org/academics/social_studies/national_history_day
3. Video (2-4 minutes)
Citations:
- https://www.nhd.org/communication-history-key-understanding
- https://www.youtube.com/watch?v=oN9unXjvg9I&feature=youtu.be
- https://www.youtube.com/watch?v=1lhWurbtQCk&feature=youtu.be
- https://www.hanover.edu/about/news?article=7574
- https://youtu.be/JrCPDm1Xamk
4. Work Samples
-
- Desktop Publishing: National History Day Club Calendar 20-21
- Presentation: DePauw Daily/Weekly Homework Slide
- Spreadsheet: 2019 NHD Projects Master List
- Database: https://sodadb.com/GRMw92C7D0giOhZa0cxv
5. Process Essays from WEBSITE & MULTIMEDIA
Process Essay: GHM1 – Task 1: Website
|
Website Design: Getting Started
In the Toolbar across the top of the screen, hover over the name of your site, click Visit Site to view your published website.
Website Design: Creating the HOME page
Website Design: Adding content to the HOME page Purpose: Promoting my school club to recruit new students for National History Day Club Adding text to your website editor is as simple as typing your content on a Word or Google Doc.
Adding in a graphic/image:
Adding an outside URL:
Outside URL: NHD: COMMUNICATION IN HISTORY: THE KEY TO UNDERSTANDING Citation: NATIONAL HISTORY DAY:. (n.d.). Retrieved July 10, 2020, from https://www.nhd.org/communication-history-key-understanding |
Process Essay: GHM1 – Task 3: Multimedia
|
Purpose: Promotion of the National History Day school club to recruit new student members. Audience: The audience for the video is new middle school recruits from the student body for 2021 as we start a new contest year. Each year our club loses 8th graders to the high school, and new members from younger grades need to be recruited to join our club. Framework:
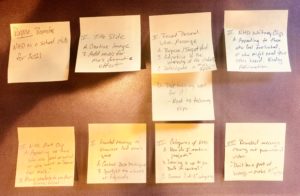
Rationale for the Framework: The process for designing the framework started when I wanted to produce an A/V presentation to support my purpose. The way chose to map out my multimedia project was to take notes on what I wanted to do, and how I was going to accomplish what I wanted to do. Then, the notes could be aligned or realigned as necessary until the project is complete. Rationale of the A/V Equipment: For this project, I am using iMovie on my Apple MacBook Air laptop. I chose this software as I am familiar with it, it is available on my computer, and the software allows me to record my own video, take recorded video, add images, original audio, and put it all together to design a professional video presentation. The Design Process:
The conceptual framework for the design process was helpful for putting ideas and concepts onto paper where I could see what I had, what I needed, and where I wanted to go with this project. I knew I was going to use iMovie because I already had the software on my computer and have used it in the past. I had to make changes and edits to my plan, usually adding in more detail than what I originally had thought to be able to reach my target audience with my purpose. |